Every Halloween, between carving pumpkins and digging out the costumes, there’s one tradition that always gets the loudest cheers in our house: making Halloween Mini Pizzas. It started on a chilly October evening when dinner needed to be quick, and the kids wanted something “creepy but tasty.” We had pizza crusts, string cheese, olives, and some leftover bell peppers. So, we got creative.
We sliced the olives into spider legs, stretched string cheese into mummy wraps, and used bell pepper strips to craft tiny jack-o’-lantern faces. Within minutes, our kitchen smelled like bubbling cheese and toasty crusts, and the kids were giggling at the monster faces staring back at them from the baking sheet.
Since then, these mini pizzas have become a must. Not just because they’re delicious, but because they’re hands-on and hilarious to make. They’re the kind of food that invites everyone into the kitchen—tiny hands and big imaginations included.
Whether you’re hosting a Halloween party, building a themed snack board, or just want something savory before the candy rush, Halloween Mini Pizzas are the ultimate spooky snack. They’re quick to prep, fun to decorate, and even better to eat warm out of the oven.
How Halloween Mini Pizzas Became a Party Favorite
Mini pizzas are already loved for being easy and satisfying. But Halloween turns them into edible art. Instead of frosting and sprinkles, kids get creative with cheese strips and olive spiders. It’s like crafting with food—and no one minds eating the art afterward.
Unlike sugar-heavy Halloween treats, these offer a savory balance to the candy chaos. They’re perfect for parties because everyone can decorate their own, and there’s zero stress about timing—just assemble, bake, and serve.
What started as a weeknight solution became the centerpiece of our Halloween party table. The pizzas always disappear before the cupcakes.
What Makes Halloween Mini Pizzas So Special
They check all the boxes: fast, festive, and crowd-pleasing. The small size makes them easy to handle for kids, while the creative topping options keep things exciting for grown-ups too.
You don’t need to be a kitchen pro to pull these off. The crusts are ready-made, the toppings are simple, and the oven does all the heavy lifting. Whether it’s mummy wraps made from string cheese or jack-o’-lantern faces cut from orange peppers, every bite brings a little Halloween magic.
They’re also endlessly customizable. Make a batch with pepperoni for the meat-lovers, go veggie with basil and olives, or keep it classic with cheese and sauce. Either way, you’re winning.
Ingredients for Halloween Mini Pizzas
The beauty of these Halloween Mini Pizzas lies in how simple the ingredients are—but how wildly creative the final results can be. You don’t need a complicated list or expensive toppings. Most of these items are pantry staples or can be picked up on a quick grocery run during spooky season.
Here’s what to gather:
- 8–10 Mini Pizza Crusts – Personal-size bases, like naan rounds, pita bread, or store-bought mini crusts.
- 3/4 cup Pizza Sauce – Use your favorite brand or make your own. Tomato-based with Italian herbs works best.
- 1 cup Shredded Mozzarella Cheese – For that classic melty pull and golden finish.
- 4 sticks Part-Skim String Cheese – Pulled apart, these become mummy wraps across your mini pizzas.
- 1/4 cup Black Olives (sliced) – Ideal for making spider bodies, legs, or even creepy eyeballs.
- 1/4 cup Mini Pepperoni (optional) – For meat lovers or added color and bite.
- Orange & Green Bell Peppers (thin strips) – Great for creating jack-o’-lantern faces and stems.
- 2 tbsp Fresh Basil (chiffonade) – Adds color and flavor as a post-bake garnish.
- Olive Oil Spray – Lightly mist your baking sheet for golden, crisp edges.
Optional swaps: Go dairy-free with vegan cheese, or use whole wheat crusts for a more nutritious bite. Want to add a little heat? Sprinkle red pepper flakes before baking.
With just a few simple items, you’ll have a spooky pizza station ready in no time.
Tips for Prepping Like a Pro
Before you jump into assembly, a few quick tips will set you up for pizza night success:
1. Don’t overload the crusts
Less is more—especially with mini pizzas. A thin layer of sauce and moderate cheese helps everything cook evenly and prevents soggy crusts.
2. Use olive oil spray
Lightly mist your baking sheet (or the bottoms of your crusts) with olive oil spray. It ensures golden edges and prevents sticking.
3. Make your toppings “stick”
When adding bell pepper faces or olive spiders, press them slightly into the cheese or sauce. That way, they won’t shift around during baking.
4. Par-bake if prepping ahead
Want to make these in advance? Par-bake the crusts for 3–5 minutes before topping. This helps maintain texture when reheating or freezing.
5. Involve the kids
Set up a “decorate your pizza” station with bowls of toppings. It’s a fun, hands-on activity that also saves you assembly time.
A little prep makes a big difference. When the oven timer dings, your Halloween Mini Pizzas will be golden, bubbly, and spooky enough to steal the show.

Halloween Mini Pizzas
Ingredients
- 8 8–10 Mini Pizza Crusts personal-size bases
3/4 cup Pizza Sauce
1 cup Mozzarella Cheese shredded
1/4 cup Black Olives sliced
1/4 cup Mini Pepperoni optional
Orange & Green Bell Peppers thin strips for jack-o’-lantern designs
4 sticks Part-Skim String Cheese pulled apart
2 tbsp Fresh Basil chiffonade
Olive Oil Spray for misting baking sheet
Instructions
- Preheat oven to 425°F (220°C). Lightly mist a baking sheet with olive oil spray.Spread 1–2 tablespoons of pizza sauce on each mini crust, leaving a small border.Sprinkle shredded mozzarella over half the pizzas. Use string cheese strips to create mummy faces.Decorate with olives (spider bodies/eyes), bell pepper strips (jack-o’-lantern smiles), and optional mini pepperoni.Bake 10–12 minutes until crusts are golden and cheese melted. Rotate pan halfway for even browning.Cool for 2 minutes. Garnish with fresh basil before serving.
Notes
Assembly and Baking
How to Build the Best Halloween Mini Pizzas
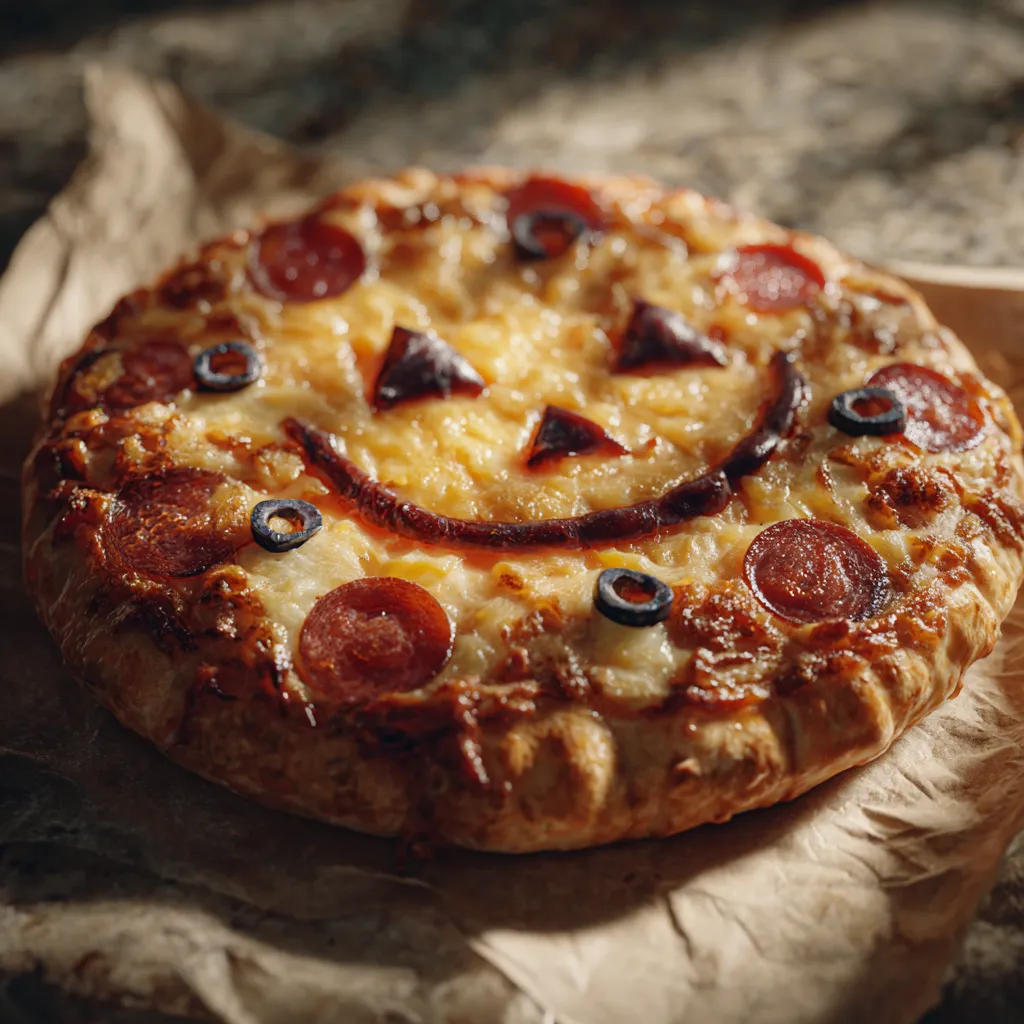
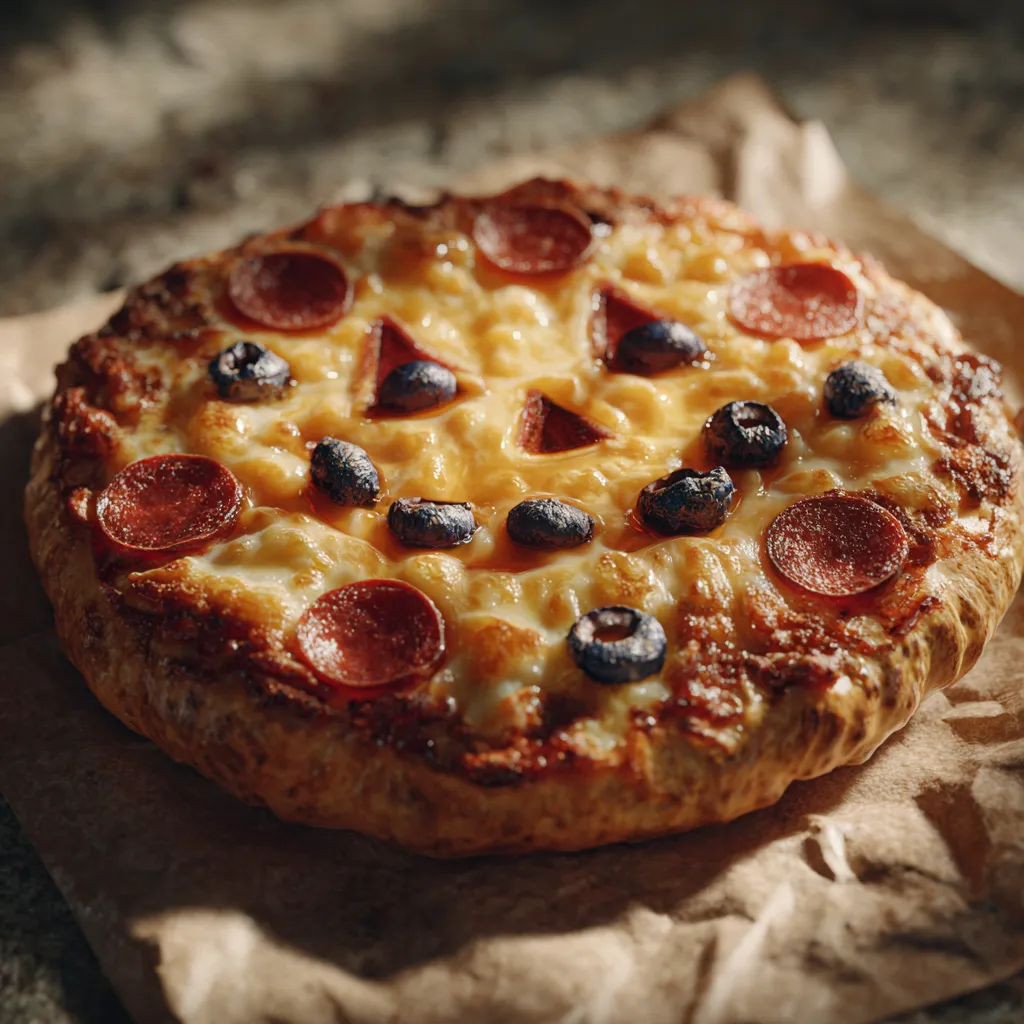
Once your ingredients are prepped, it’s time to turn those plain crusts into spooky little masterpieces. The real magic of Halloween Mini Pizzas happens in the assembly—where toppings transform into monsters, mummies, and jack-o’-lanterns.
Here’s how to do it:
1. Preheat the oven
Set your oven to 425°F (220°C) and lightly mist a baking sheet with olive oil spray. This helps the crusts bake evenly and crisp up without sticking.
2. Sauce it up
Spread 1–2 tablespoons of pizza sauce over each mini crust. Don’t go all the way to the edge—leave a small border for that classic pizzeria look.
3. Cheese layer
Sprinkle shredded mozzarella cheese on half of the crusts. On the others, use string cheese strips to create mummy wraps—space them out slightly to mimic bandages.
4. Decorate
Now the fun begins:
- Spider Pizzas: Use one olive slice as the spider body and cut others into thin legs. Place them on top of the cheese in a spider shape.
- Jack-o’-Lanterns: Use orange bell pepper strips to form mouths and eyes. Add green pepper stems at the top for the pumpkin effect.
- Mummy Faces: After placing string cheese, add olive slices as eyes peeking through the “bandages.”
5. Add optional toppings
Sprinkle on mini pepperoni for added flavor or texture. If using a mix of pizzas, alternate styles so your tray looks festive and fun.
Halloween pizzas are about creativity, not perfection. Let each one have its own personality—and let the kids build their own spooky scenes.
Baking Tips for Perfect Results
The decoration’s done—now it’s time to bake your Halloween Mini Pizzas to bubbly, crispy perfection.
1. Bake for 10–12 minutes
Place the baking sheet in the center rack of your oven. Bake until the crusts are golden and the cheese is fully melted. Rotate the pan halfway through to ensure even cooking, especially if your oven has hot spots.
2. Don’t overbake
You want melted, not burned. Keep an eye on the edges—they should be golden and crisp, not too dark.
3. Cool slightly before serving
Let the pizzas rest for 2 minutes before serving. This helps the cheese set and avoids burned mouths (especially important with kids).
4. Add fresh basil (optional)
Right before serving, sprinkle fresh chiffonade basil for color and a pop of fresh flavor. It adds a little sophistication to the spookiness.
Bonus Tip: If you’re baking more than one tray, use convection mode if your oven has it. Otherwise, rotate trays between top and bottom halfway through.
That’s it! In about 15 minutes total, you’ll have a tray full of Halloween Mini Pizzas ready to wow your party guests or just make your weeknight dinner a whole lot more fun.
Serving, Storing & Freezing
How to Serve Halloween Mini Pizzas
The beauty of Halloween Mini Pizzas is that they’re just as fun to serve as they are to make. Once they come out of the oven—gooey, golden, and covered in spooky designs—they become the star of your Halloween table.
Here’s how to serve them for max fun:
- Party Platter: Arrange your mini pizzas on a black tray or wooden board with Halloween props like plastic spiders, mini pumpkins, or skull-themed napkins. The visual is just as good as the taste.
- Snack Boards: Build a themed board with your mini pizzas, mozzarella sticks, orange slices, baby carrots, and “witches’ fingers” (pretzel rods dipped in green candy).
- Spooky Dinner: Pair 2–3 mini pizzas with a side salad and call it dinner. Kids love that they get to choose which “monster” to eat first.
- Build-Your-Own Station: Let kids and guests decorate their own before baking. Offer a few pre-made designs as inspiration, then let creativity take over.
They’re small, fast to cool, and easy to hold—ideal for busy little hands at parties or Halloween movie marathons. Serve them warm with a sprinkle of basil or extra olives for a final festive touch.
Storing & Freezing Leftovers
If your party ends with a few leftovers (rare, but it happens), these Halloween Mini Pizzas store and reheat like a dream.
To Store in the Fridge:
Place cooled pizzas in an airtight container. They’ll stay fresh for 3–4 days. Reheat in a toaster oven or regular oven at 350°F for 5–7 minutes until the cheese is bubbly again.
To Freeze (Pre or Post Baking):
You have two options:
- Freeze Unbaked: Assemble the pizzas on a tray and freeze until solid (about 1 hour). Then transfer to a freezer-safe bag or container. Bake from frozen at 425°F, adding 2–3 minutes to your bake time.
- Freeze Baked: Let cooked pizzas cool completely. Wrap individually or stack with parchment paper between layers. Reheat directly from frozen in the oven at 375°F for 10–12 minutes.
Avoid Microwaving: It can make the crust rubbery or soggy. Stick to the oven for the best texture.
Making a double batch? Freeze half and thank yourself later on a busy weeknight when you want Halloween flavor without lifting a finger.
Frequently Asked Questions
Can I use homemade dough instead of mini crusts?
Absolutely! You can roll out homemade pizza dough and cut it into small rounds using a biscuit cutter or even a drinking glass. Just pre-bake the dough for 5–7 minutes before adding toppings.
What’s the best way to make olive spiders?
Slice one olive into rounds for the body and thinly cut another into strips for legs. Place one round in the center and arrange 3–4 legs on each side to complete your spider.
Can these be made dairy-free?
Yes! Substitute with dairy-free mozzarella shreds and string-style vegan cheese. Most store-bought pizza crusts are naturally dairy-free, but always check the label.
How do I keep the pizzas from getting soggy?
Use a light hand with the sauce, don’t overload with toppings, and lightly mist your baking sheet with olive oil spray to keep the crusts crisp.
Conclusion
Whether you’re hosting a costume party or just want a festive way to celebrate spooky season at home, Halloween Mini Pizzas are the perfect savory snack. They’re quick to prep, endlessly customizable, and irresistibly cute. From mummy faces to olive spiders, they’re as fun to make as they are to eat. Keep it simple or go full spooky—either way, these mini pizzas will steal the show this Halloween.