Fall brings with it a special kind of magic—cool breezes, the crunch of leaves, and pumpkin-themed everything. One October afternoon a few years ago, I wanted to surprise my twins after school with a treat that felt like fall but didn’t require hours in the kitchen. I spotted an open box of Rice Krispies and a leftover bag of marshmallows in the pantry. That’s when the idea hit me: Rice Krispie Treat Pumpkins.
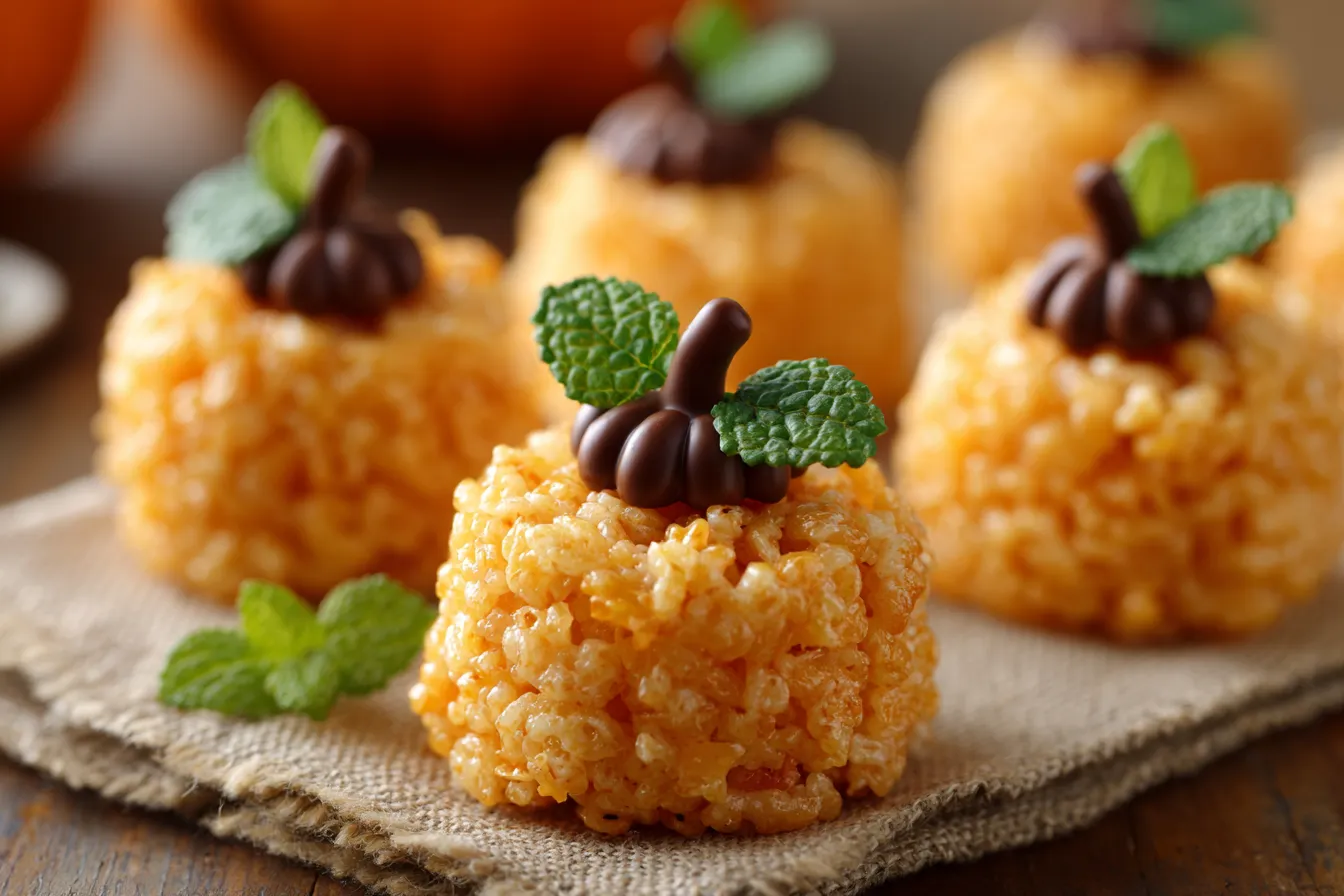
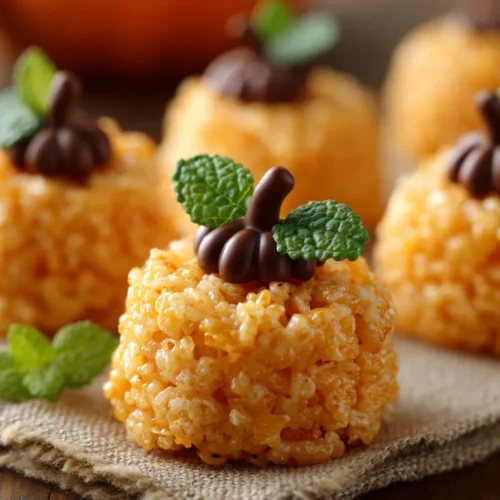
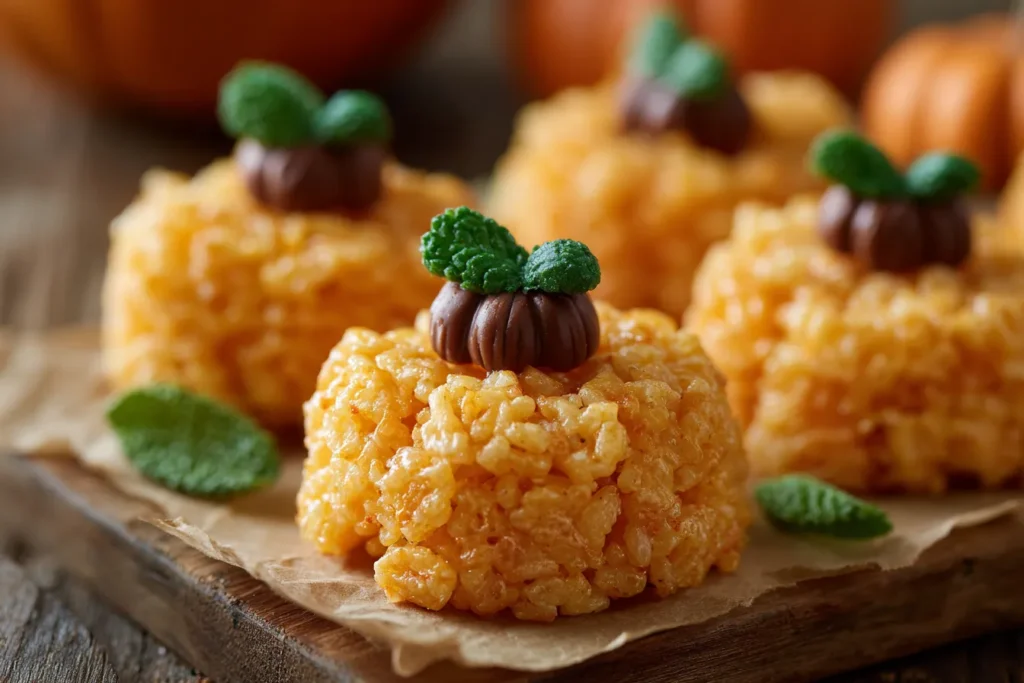
They turned out way better than I imagined. Soft, chewy, and shaped just like little pumpkins, topped with a mini Rolo for the stem and a green M&M leaf—they were so cute, I almost didn’t want to eat them. But we did. Every single one.
Since then, these festive treats have become a fall staple in our house, perfect for Halloween parties, school bake sales, or cozy weekends when we crave something sweet but fun to make. And the best part? You don’t need any special tools—just a pot, a spoon, and your hands. Let’s walk through how to make these adorable Rice Krispie Treat Pumpkins.
Making the Marshmallow Base for Rice Krispie Treat Pumpkins
To get that classic soft and gooey Rice Krispie texture, start by melting a quarter cup of butter in a large pot over low heat. Once melted, add a full bag of large marshmallows—about 40—and stir constantly until completely smooth.
At this point, you’ll bring in the color. Drop in several drops of yellow food coloring first, then gradually add red—one drop at a time—until you reach that perfect pumpkin orange hue. It might take about 4 drops of red and 12 yellow, but trust your eyes here. Stir the mixture thoroughly so the color is even and vibrant.
This step is essential for Rice Krispie Treat Pumpkins that not only taste great but look the part too. Once your color is right, it’s time for the magic—adding the cereal.
Mixing & Shaping: Forming Your Rice Krispie Pumpkins
Take the pot off the heat and pour in 6 cups of Rice Krispies. Stir until the cereal is evenly coated in that glossy, golden-orange marshmallow mix. Now comes the sticky part—literally.
Lightly coat your hands in cooking oil or melted butter. Scoop a handful of the mixture and roll it into a ball, about the size of a small apple. Place it on parchment paper. Reapply oil to your hands between each one to keep the mixture from sticking.
While they’re still warm, gently press a Mini Rolo into the center of the top—this is your pumpkin stem. Add a green M&M right next to it for a leaf. If the treats cool too fast, don’t worry—just use the handle of a wooden spoon or a marker to create a little indent before adding the candy.
Creative Twists for Rice Krispie Treat Pumpkins
Add a Flavor Twist to Your Rice Krispie Treat Pumpkins
The classic version of these treats is always a hit, but if you’re looking to surprise your guests or kids, try swapping in a few creative ingredients. For example, you can mix a teaspoon of pumpkin pie spice into the melted marshmallow mixture for a subtle fall flavor. It adds a warm, cinnamony aroma that really makes these Rice Krispie Treat Pumpkins stand out.
Another fun variation is adding a splash of vanilla or maple extract to the melted marshmallow before mixing in the cereal. It’s a simple step that adds depth to the sweetness and makes the treats feel a little more special. You can even stir in crushed pretzels for crunch, or mini chocolate chips for an extra indulgent bite. Just make sure the mixture cools slightly before adding chocolate so it doesn’t melt.
These variations are great for themed events, potlucks, or simply when you’re ready to shake things up without changing the whole recipe.
Make It a DIY Pumpkin Treat Station
These pumpkin-shaped treats aren’t just great to eat—they’re fun to assemble too. If you’re hosting a Halloween party, consider turning this into a DIY treat station. Make the base balls in advance and set up a decorating table with bowls of Rolos, M&Ms, candy eyes, and mini pretzels.
Kids (and adults) love getting hands-on with their food. You’ll find people getting creative—maybe adding two green M&Ms to look like leaves or using a pretzel stick instead of a Rolo for a more “viney” look. It’s a safe, low-mess activity that doubles as dessert.
Bonus: If you’re worried about sticky hands, disposable gloves are a fantastic solution. No oil needed, and clean-up is a breeze. Many readers have shared that their local butcher or deli counter was happy to hand over a pair.
Rice Krispie Treat Pumpkins
Ingredients
- 1/4 cup butter
- ▢1 bag large marshmallows approximately 40 marshmallows
- ▢6 cups Rice Krispies
- ▢Red & Yellow Liquid Food Coloring
- ▢Mini Rolos
- ▢Green M&M’s
- ▢1/4 cup cooking oil or melted butter in a small bowl to keep it from sticking to your hands
Instructions
- In a large pot, melt the butter over low heat.
- A
- Add the marshmallows and stir until completely melted and combined with the butter.
- Remove from the heat. Add several drops of yellow food colouring, mix it together, then add red food colouring one drop at a time, mixing as you go. Add red/yellow drops until you reach your desired colour. (I used about 4 drops red and 12 drops yellow). Mix well.
- Add the Rice Krispies and stir to combine.
- Coat both sides of your hands with a generous amount of cooking oil or butter, and roll the Rice Krispie mixture into small balls. Set on parchment paper. Add oil/butter to your hands after each ball.
- While the balls are still warm, gently press a Mini Rolo into the top of each pumpkin for the stem and add a green M&M beside it as the leaf. (Tip: If the pumpkins cool before you’re finished, use the end of a thick marker or apple corer to make a small indent in the top for the chocolate to sit in.)
- Allow to cool until firm.
Notes
Serving Ideas and Nutrition Tips for Rice Krispie Treat Pumpkins
How to Serve Rice Krispie Treat Pumpkins at Events
These little pumpkins are perfect for more than just casual snacks. Serve them up at fall birthday parties, Halloween gatherings, school functions, or even as cute Thanksgiving desserts. Because they’re so easy to make ahead of time, you can prep a full batch the night before and store them in an airtight container.
Want to make them feel extra festive? Wrap each one in clear cellophane with an orange or green ribbon. Not only do they stay fresh, but they also double as adorable party favors or lunchbox surprises.
If you’re making these Rice Krispie Treat Pumpkins for a dessert table, arrange them in a basket or rustic wooden tray lined with parchment. You can even scatter some candy corn or mini faux leaves around them for a seasonal touch. They’re eye-catching and inviting—no one can resist picking one up.
Nutrition Breakdown: Small Treats, Big Sweetness
Each Rice Krispie Treat Pumpkin clocks in at around 320 calories, making it a reasonable indulgence for most people—especially since they’re rich, sweet, and satisfying in just a few bites. Here’s a quick nutrition breakdown per serving:
| Nutrient | Amount (per treat) |
|---|---|
| Calories | 320 kcal |
| Carbohydrates | 54 g |
| Sugars | 42 g |
| Fat | 11 g (7 g saturated) |
| Protein | 3 g |
Because they contain marshmallows, butter, and candy, Rice Krispie Treat Pumpkins are definitely a dessert—not an everyday snack. But for a holiday treat? They’re just right. And since the serving size is individual, it’s easier to keep portions in check.
Storage, Make-Ahead Tips, and Frequently Asked Questions
Best Way to Store Rice Krispie Treat Pumpkins
One of the best things about these treats—aside from their adorable look—is how easy they are to store. Once the Rice Krispie Treat Pumpkins have fully cooled and firmed up, transfer them into an airtight container. You can keep them at room temperature for up to 3 days without losing freshness or texture.
If you’re planning further ahead, you can refrigerate them for up to a week. Just let them come back to room temperature before serving so they’re nice and soft again. Avoid stacking them directly on top of each other—layer them with parchment paper to keep the decorations intact.
Can You Make Rice Krispie Treat Pumpkins Ahead of Time?
Yes, and that’s what makes them perfect for busy holidays. You can prepare the pumpkin balls up to two days in advance. If you’re hosting a party or need to bring treats to school, this gives you breathing room so you’re not rushing the day-of.
Want to save even more time? Make the balls and decorate them with Rolos and M&Ms later. The base stays soft enough to add finishing touches when you’re ready. Just be sure to store them properly, and they’ll look and taste freshly made.
Frequently Asked Questions About Rice Krispie Treat Pumpkins
Q1: Can I use mini marshmallows instead of large ones?
Yes! Use about 6 cups of mini marshmallows to replace one bag of large ones. They melt faster and work just as well.
Q2: How do I prevent the mixture from sticking to my hands?
Coat your hands with cooking oil or melted butter before shaping the pumpkins. Or wear disposable food-handling gloves—many readers find this even easier.
Q3: Can I color the marshmallows with gel instead of liquid food coloring?
Absolutely. Gel food coloring is more concentrated, so you’ll need less. Just mix it in well while the marshmallows are still hot.
Q4: Are there allergy-friendly versions of this recipe?
Yes. You can use dairy-free butter and allergen-free candies to make these treats safe for most diets. Always double-check ingredient labels for your guests’ needs.
Conclusion: A Treat That’s Just as Fun to Make as It Is to Eat
Rice Krispie Treat Pumpkins are proof that festive desserts don’t have to be complicated. With just a few basic ingredients and a little creativity, you can turn a classic cereal bar into something special. Whether you’re making them for Halloween, Thanksgiving, or a cozy fall weekend at home, these little pumpkins bring smiles with every bite.
They’re chewy, colorful, and endlessly customizable—and they come together in under 30 minutes. If you’re looking for a treat that’s easy enough for kids to help with and cute enough to impress guests, this is the one. No baking. No stress. Just fun.
Clara’s 100-Word Story (Short Version)
Hi, I’m Clara Mitchell—mom of twins and lover of all things sweet and simple. These Rice Krispie Treat Pumpkins started as a spur-of-the-moment fall snack for my kids, made with pantry staples and a pinch of creativity. The first time we made them, we laughed at our uneven pumpkins—but they disappeared in minutes. Now it’s a seasonal tradition in our home. No fancy gear, no fuss—just buttery marshmallows, crunchy cereal, and fun toppings. If you’re craving a cozy, no-bake dessert that brings people together, this one’s for you. Let’s make sweet memories—one mug (or pumpkin) at a time.