Introduction
Pumpkin cheesecake bars are the perfect dessert for when you want something rich, creamy, and full of fall flavor. These bars bring together a spiced graham cracker crust, a smooth cheesecake filling, and a pumpkin swirl that adds warmth and depth. They’re easier to serve than a traditional cheesecake, great for gatherings, and just as indulgent. With a cinnamon whipped cream topping and tips to avoid cracks or uneven texture, this recipe delivers reliable results every time. From the first bite to the last, these bars balance sweetness, spice, and tanginess in a way that feels comforting and festive.
Why Pumpkin Cheesecake Bars Work So Well
The perfect mix of textures and flavors
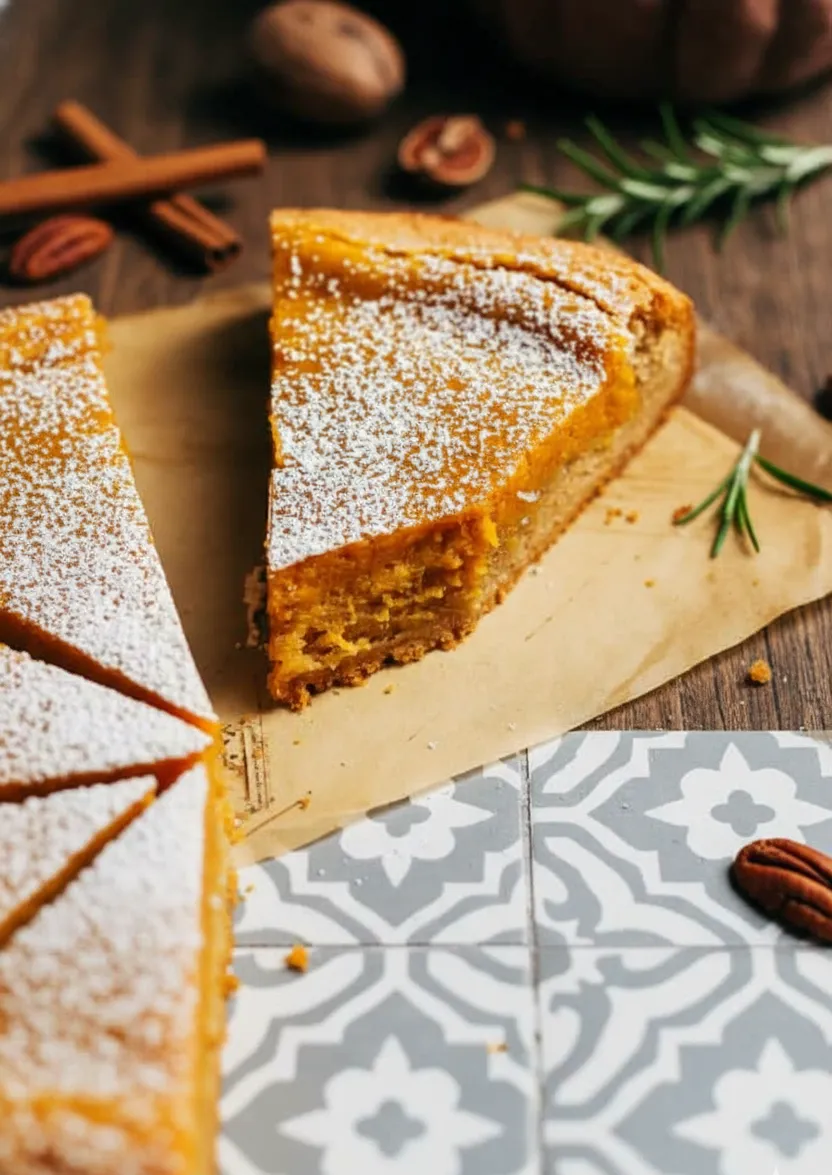
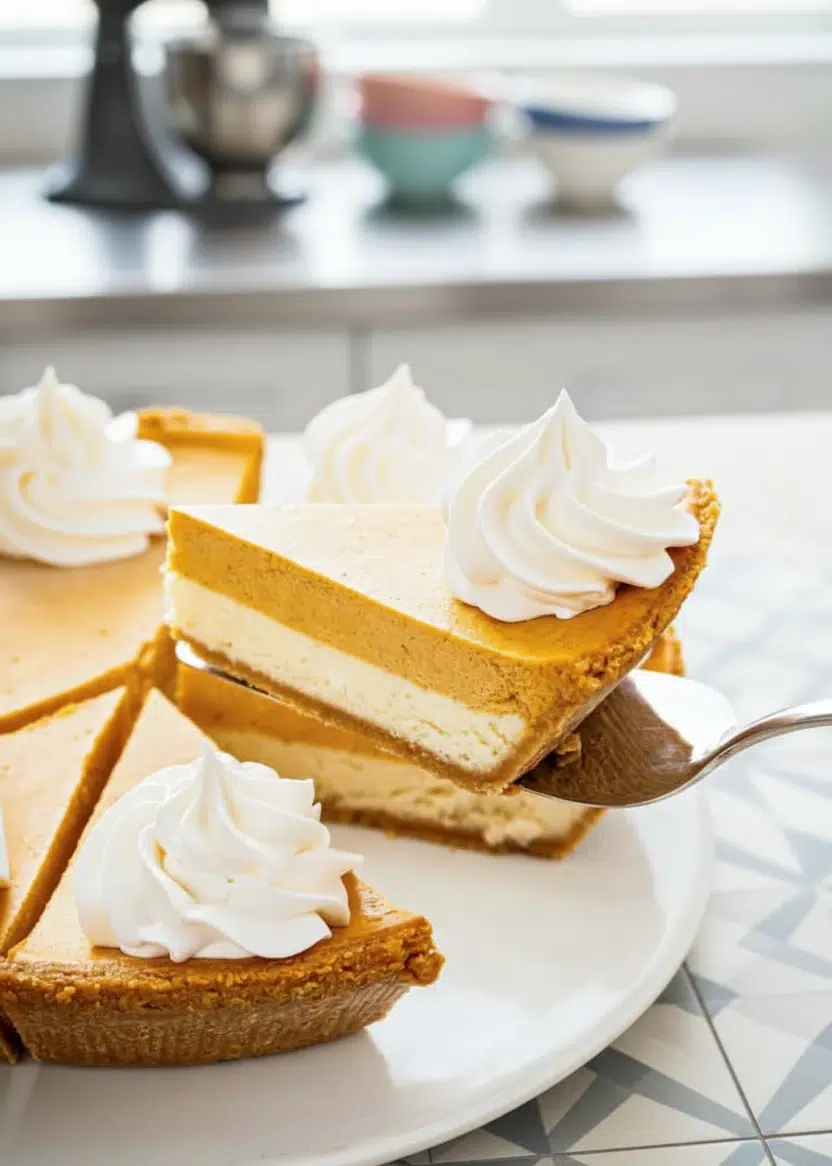
There’s something magical about the way pumpkin and cheesecake come together. One is warm, spiced, and earthy. The other is rich, smooth, and slightly tangy. Layered together over a buttery graham cracker crust, they create a dessert that’s both familiar and unique. These bars give you everything you love about pumpkin pie and classic cheesecake but in a form that’s easier to make, slice, and share.
The crust holds everything in place. It’s made from crushed graham crackers, melted butter, brown sugar, and a hint of spice. This base bakes into a firm, flavorful layer that doesn’t fall apart when cut. It adds just enough crunch to contrast the silky filling.
On top of that comes a classic cheesecake layer. It’s rich from cream cheese and heavy cream, and perfectly sweetened. Half of this mixture is set aside while the other half is mixed with pumpkin puree and fall spices to create the top layer. Once baked, the result is a two-tone dessert that tastes like autumn in every bite.
Easy to serve, share, and store
Cheesecake bars make presentation simple. There’s no need to worry about slicing a round cake or dealing with a springform pan that leaks. You can cut them into squares or rectangles, top them with whipped cream, and they’re ready to go. This makes them ideal for holidays, potlucks, or as a make-ahead treat to keep in the fridge.
The layered structure also means they chill well without becoming soggy. You can make them the night before and they’ll be even better the next day, after the flavors have had time to meld.
Pumpkin Cheesecake Bars
Ingredients
- Crust:
- 3 cups graham cracker crumbs
- 1/3 cup brown sugar
- 1 teaspoon ground cinnamon
- 1 teaspoon ground nutmeg
- 1/4 teaspoon ground cloves
- 1 stick 1/2 cup unsalted butter melted
- Cheesecake Batter:
- 4 packages 8 oz each cream cheese at room temperature
- 1 1/2 cup granulated sugar
- 2 tablespoons cornstarch
- 4 large eggs at room temperature
- 1/2 cup heavy whipping cream at room temperature
- 3/4 cup sour cream at room temperature
- 1 teaspoon vanilla extract
- Pumpkin Layer:
- 1 can 15 oz pumpkin puree
- 1 teaspoon ground cinnamon
- 1/2 teaspoon ground nutmeg
- 1 teaspoon pumpkin spice optional
- Cinnamon Whipped Cream:
- 2 cups heavy whipping cream cold
- 1/2 cup granulated sugar
- 1 teaspoon vanilla extract
- 1 teaspoon ground cinnamon
Instructions
- Preheat oven to 325 degrees Fahrenheit.
- Adjust the top rack to be positioned in the middle of the oven.
- Cheesecake Crust:
- Lightly coat a 9×13-inch pan with baking spray and set it aside.
- Add the “Crust” ingredients to a large bowl and stir until well combined.
- Press the mixture into the prepared pan. Using a measuring cup, press the crust and try to line the sides up to the middle of the pan edges.
- Refrigerate or freeze for at least 20 minutes.
- Cheesecake Batter:
- Make sure all the ingredients are at room temperature before you begin.
- In the bowl of a stand mixer or in a large bowl using a hand mixer, beat cream cheese and sugar until light and fluffy on medium-low speed.
- Add the rest of the ingredients from the “Cheesecake Batter” list and continue beating until well combined and creamy. Scrape the sides and bottom of the bowl with a spatula.
- Take the crust out of the freezer and pour half of the cheesecake batter into the prepared pan. Return it to the freezer for about 1 hour, allowing the layer to freeze sufficiently so that you can pour the pumpkin layer on top.
- Set aside the remaining half of the cheesecake batter. It will be used for the pumpkin layer.
- Pumpkin Layer:
- Add the ingredients for the “Pumpkin Layer” to the reserved cheesecake batter, and whisk until fully combined. Use a spatula to scrape the sides and bottom of the bowl.
- Remove the cheesecake from the freezer and pour the pumpkin layer on top. Level the top with a spatula.
- Bake:
- Read the post for “water bath” tips if you want to bake the cheesecake using a “water bath”.
- Bake in the preheated oven for about one hour.
- Do not open the oven door. At the 45-minute mark, check the cheesecake to see if it is done. The center should have a slight wobble, and the edges should be puffed and light golden brown.
- Turn off the oven, prop open the door, and let the cheesecake cool in the oven for one hour.
- Chill:
- After one hour, remove from the oven and place on a cooling rack for about 2 hours, until the cheesecake is cool enough to be transferred to the refrigerator.
- Transfer to the refrigerator and chill for 6-24 hours.
- Cinnamon Whipped Cream:
- Add cream, sugar, vanilla, and cinnamon to a large bowl.
- Using a hand mixer or stand mixer, whisk on slow-medium speed, gradually increasing to high speed. Mix until soft peaks form and the whipped cream holds its shape.
- Add the whipped cream to a pastry bag, fitted with a star piping tip, and pipe it onto cheesecake bars right before serving.
Notes
Make sure that all the ingredients are at room temperature and well combined after mixing, and add flour and/or cornstarch to the batter. Avoid opening the oven door while baking the cheesecake. Watch the cheesecake closely to avoid over-baking it. When the sides are puffed and the center of the cheesecake is just slightly wobbly, the cheesecake is done. Cooling the cheesecake in the oven, with the door slightly cracked, is also very important, as the sudden temperature change can cause cracks. Finally, bake the cheesecake in a water bath; it’s one of the most successful techniques to avoid cracks on your cheesecake.
How to fix cheesecake cracks:
You will need: 1) a small offset spatula or spoon, 2) hot water, and 3) a kitchen towel.
Let the cheesecake completely cool and refrigerate for at least 6 hours or per recipe instructions. The cheesecake needs to be cold to be able to fix the cracks.
Use the spatula dipped into hot water (or you can use your fingers or a spoon) to gently push and press down in the area of the crack and spread to fill it in until the top is smooth.
Clean the spatula with the towel as needed.
Once finished, clean the offset spatula with the kitchen towel again, dip it again into warm water, and smooth the top of the cheesecake.
You can add a thin layer of sour cream topping if the cracks are small.
You can add a layer of whipped cream topping. Nutrition Calories: 524kcal | Carbohydrates: 85g | Protein: 8g | Fat: 18g | Saturated Fat: 9g | Cholesterol: 110mg | Sodium: 265mg | Potassium: 324mg | Fiber: 3g | Sugar: 64g | Vitamin A: 7960IU | Vitamin C: 2mg | Calcium: 174mg | Iron: 2mg
Building the Layers from Crust to Topping
Ingredients that make each layer shine
Pumpkin cheesecake bars come together in three stages: the crust, the cheesecake filling, and the pumpkin swirl. Each component uses simple ingredients, but how you combine them makes all the difference.
Crust:
The graham cracker base includes 3 cups of crumbs, a third cup of brown sugar, cinnamon, nutmeg, cloves, and melted butter. The spices help the crust complement the pumpkin and cream cheese layers without overpowering them. Pressing it firmly into the pan ensures it holds together after baking.
Cheesecake batter:
You’ll need four packages of cream cheese, granulated sugar, eggs, sour cream, cornstarch, heavy cream, and vanilla. These ingredients need to be at room temperature for the smoothest batter. The cornstarch and sour cream add structure while keeping the texture creamy. Whipping cream adds richness without heaviness.
Pumpkin layer:
Reserved cheesecake batter is blended with one can of pumpkin puree and a mix of spices: cinnamon, nutmeg, and optional pumpkin pie spice. This turns part of your base into a lightly spiced pumpkin cheesecake that layers beautifully over the plain batter.
Cinnamon whipped cream (optional):
Heavy whipping cream, sugar, vanilla, and cinnamon are whipped into soft peaks. It’s piped on just before serving for a touch of sweetness and a pretty finish.
How to layer and bake it for best results
Preheat your oven to 325°F and prepare a 9×13-inch pan by lining it with baking spray. Mix the crust ingredients and press the mixture evenly into the bottom and halfway up the sides of the pan. Refrigerate or freeze the crust for at least 20 minutes before filling.
Make your cheesecake batter by creaming the room-temperature cream cheese with sugar until fluffy. Add cornstarch, eggs, sour cream, vanilla, and heavy cream. Mix gently to avoid introducing air bubbles. Pour half of the batter onto the chilled crust and freeze this layer for one hour to help define the layers.
While the base sets, mix the reserved batter with pumpkin and spices to create the top layer. Once the bottom layer is firm, pour the pumpkin mixture over it and level the surface with a spatula.
Bake at 325°F for about one hour. Don’t open the oven door during baking. The bars are done when the edges are slightly puffed and golden, and the center jiggles slightly. Then, turn off the oven, crack the door, and let the bars cool inside for one hour. This slow cooling helps prevent cracks.
Next, we’ll cover cooling, chilling, slicing, and how to fix any surface cracks with simple tricks.
Cooling, Chilling, and Slicing Like a Pro
The chilling process makes or breaks the texture
Once your pumpkin cheesecake bars finish baking, don’t rush them. Turn off the oven and leave the door cracked open with the bars inside for an hour. This slow cooling process helps prevent sudden temperature shifts, which often cause cracks in the surface.
After the hour is up, move the pan to a wire rack and let it rest at room temperature for about two hours. Once it’s no longer warm to the touch, transfer it to the refrigerator. Chill the bars for at least six hours, but ideally overnight. This time allows the layers to firm up, the flavors to blend, and the texture to set into that perfect, creamy density cheesecake is known for.
Avoid placing a hot pan in the refrigerator. That’s one of the fastest ways to crack the top or warp your pan.
How to slice cleanly and fix surface cracks
When you’re ready to serve, fill a tall glass with hot water and dip a sharp knife into it. Wipe the blade clean with a towel between each cut. This helps you get perfect, clean slices without dragging filling across the surface or pulling at the crust.
Even if you follow every step perfectly, a crack might still show up. It’s fixable. First, let the bars cool completely and chill thoroughly. Then, dip a small offset spatula in hot water and gently smooth over the crack. You can also press gently with your fingers or the back of a spoon.
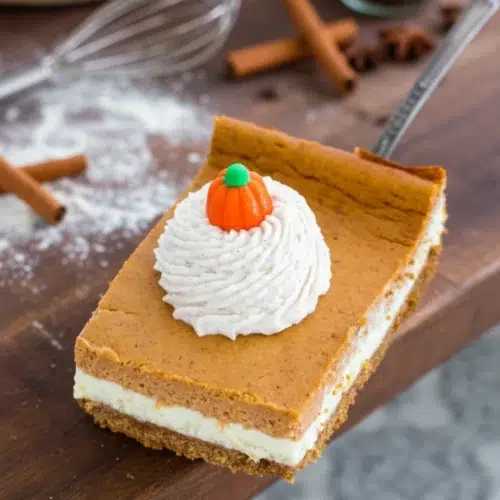
For larger cracks, you can pipe a swirl of cinnamon whipped cream on top. Not only does it look elegant, but it adds a soft, sweet finish that balances the creamy texture below.
In the final section, we’ll look at serving tips, make-ahead storage, and how to keep leftovers tasting fresh for days.
Serving, Storage, and Make-Ahead Tips
How to serve and decorate for extra appeal
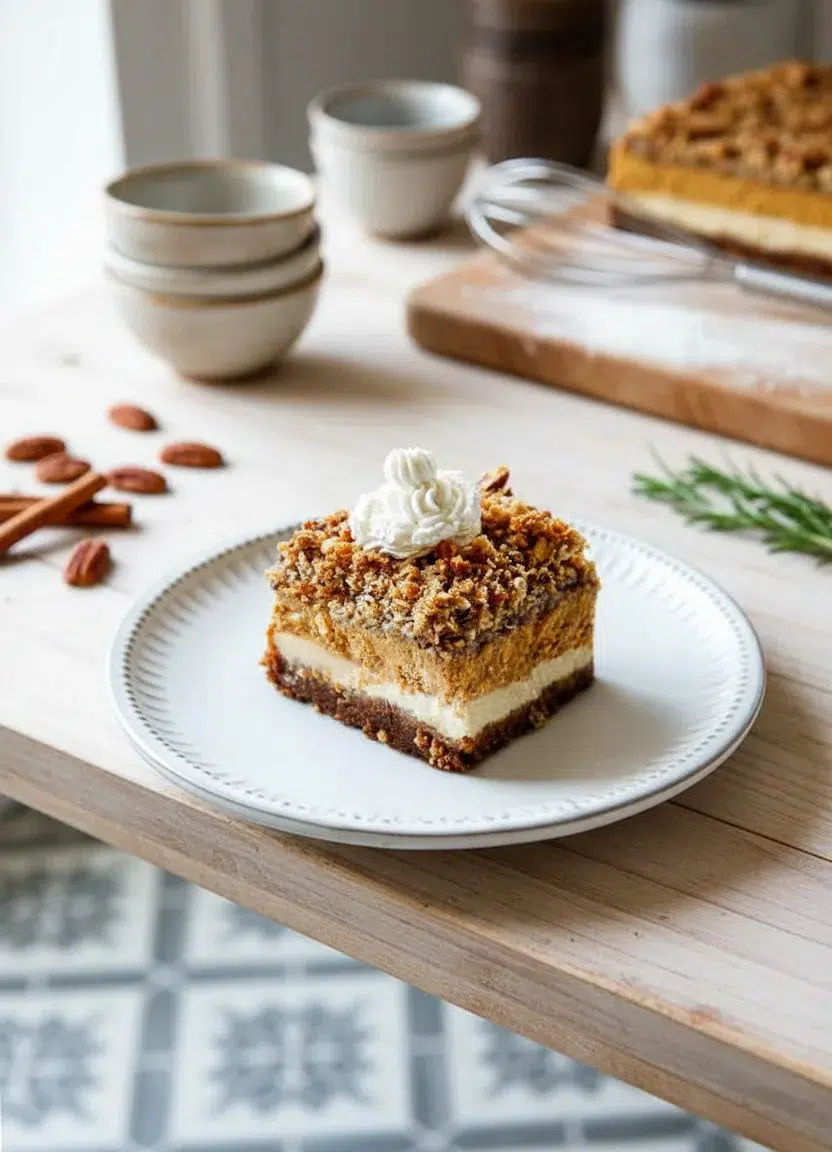
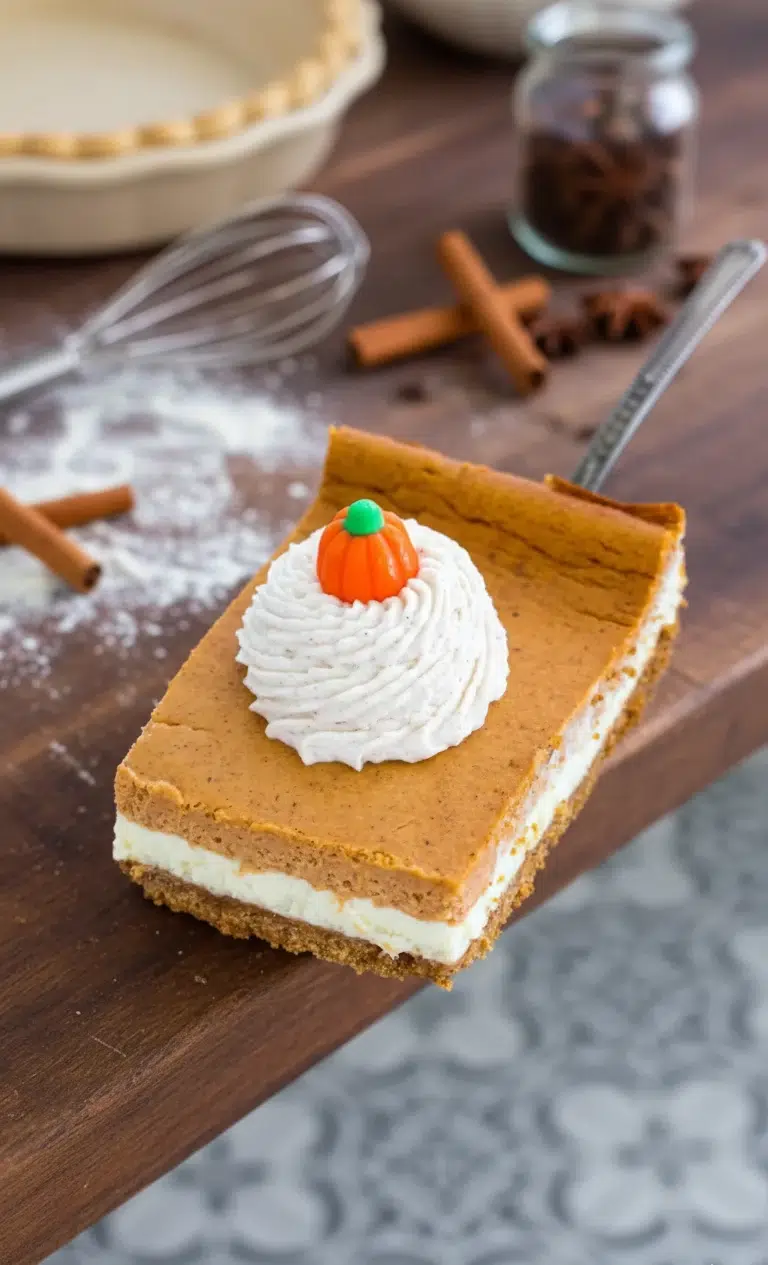
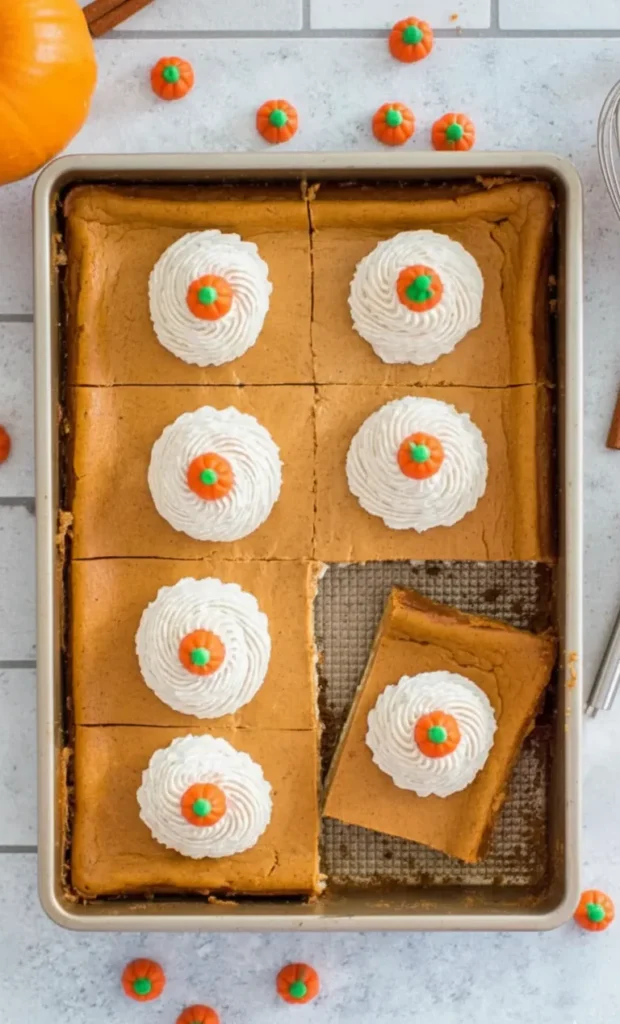
Once your pumpkin cheesecake bars are fully chilled and sliced, the fun part begins—presentation. A dusting of cinnamon or a swirl of cinnamon whipped cream makes each bar look polished and festive. You can use a piping bag with a star tip for beautiful rosettes or simply spoon the whipped cream on each slice right before serving.
These bars pair perfectly with coffee, chai, or a glass of milk. They’re rich, so smaller portions work well. Whether you serve them on a rustic platter for a fall gathering or as a plated dessert with whipped topping and a cinnamon stick, they make a stunning and delicious impression.
If you’re hosting a holiday meal, these bars can be the perfect make-ahead dessert that requires no last-minute work. Everything is done the night before, leaving you free to focus on the main event.
Make-ahead and storage that keeps them tasting fresh
Pumpkin cheesecake bars actually improve after a day in the fridge. The flavors have time to settle and deepen, and the texture becomes more cohesive. This makes them ideal for prepping ahead of time.
To store them, place the cooled and chilled bars in an airtight container or cover the pan tightly with plastic wrap. They’ll stay fresh in the refrigerator for up to five days.
For longer storage, you can freeze individual bars. Place them on a parchment-lined baking sheet until solid, then transfer them to an airtight container with layers separated by parchment. They’ll keep in the freezer for up to two months. Thaw overnight in the fridge before serving.
Avoid freezing bars that are already topped with whipped cream. For best results, freeze plain and add your cinnamon whipped cream right before serving.
FAQ: Pumpkin Cheesecake Bars
Can I make pumpkin cheesecake bars ahead of time?
Yes. Pumpkin cheesecake bars are ideal for making ahead. Once baked and chilled, the flavors deepen, and the texture sets beautifully. Prepare the bars a day in advance and store them covered in the refrigerator. Add whipped cream or any toppings just before serving for best presentation.
What’s the best crust for pumpkin cheesecake bars?
A graham cracker crust works best. It balances the richness of the cheesecake and holds up well to slicing. Using brown sugar, cinnamon, and nutmeg in the crust adds flavor that complements the pumpkin and spice in the filling.
How do you keep cheesecake bars from cracking?
To avoid cracks, use room-temperature ingredients, mix gently, and avoid overbaking. Cool the cheesecake slowly in the oven with the door cracked for one hour. Let it come to room temperature before refrigerating. A water bath also helps create even baking and prevent surface cracks.
Should pumpkin cheesecake bars be served chilled?
Yes. Serve pumpkin cheesecake bars well-chilled for the best texture and flavor. Chill for at least six hours or overnight. Before serving, let the bars sit at room temperature for 10 to 15 minutes for easier slicing and a softer bite.
Conclusion
Pumpkin cheesecake bars are the perfect blend of creamy, spiced, and sweet. With their smooth texture, rich layers, and make-ahead convenience, they’re a standout dessert for fall gatherings or quiet evenings in. From the graham cracker crust to the cinnamon whipped topping, each bite delivers warmth and balance. Whether you’re serving them at Thanksgiving or bringing a tray to a potluck, these bars hold up beautifully and slice like a dream. Once you try them, they’re sure to become a seasonal favorite. Simple to prepare, easy to store, and even easier to enjoy—this recipe checks every box.