If you’re looking for a fun, eye-catching dessert that’s all treat and no tricks, this Halloween Lush is the one. With layers of crushed Oreos, sweetened cream cheese, orange gelatin pudding, and fluffy whipped topping, it’s a dessert lasagna that’s perfect for spooky season. Best of all? No baking required. You just layer, chill, and serve. Whether it’s a Halloween party centerpiece or just a way to surprise your family, this vibrant and creamy dessert brings together color, crunch, and creamy sweetness in every bite. It’s spooky, silly, and so good—it’ll disappear before the night is over.
The Story & Intro – A Party Dessert with Personality
Where creepy meets creamy
Halloween treats don’t have to be candy alone. Sometimes the best desserts are the ones that feel like a little surprise in every spoonful. That’s exactly what this Halloween Lush delivers. It all started with a craving for something festive, easy, and no-bake. The weather was still too warm to turn on the oven, but I wanted something fun, layered, and bright enough to scream Halloween.
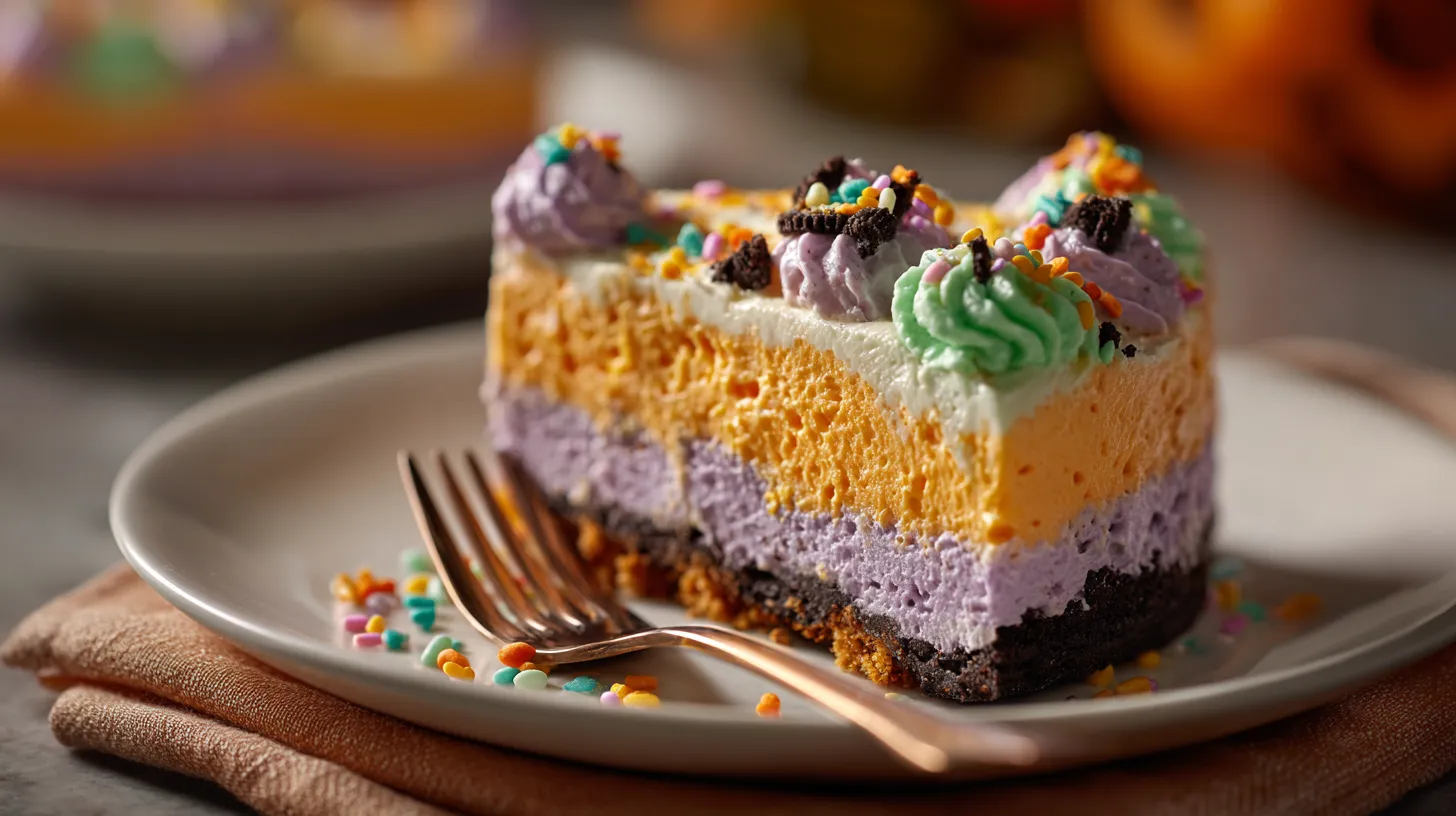
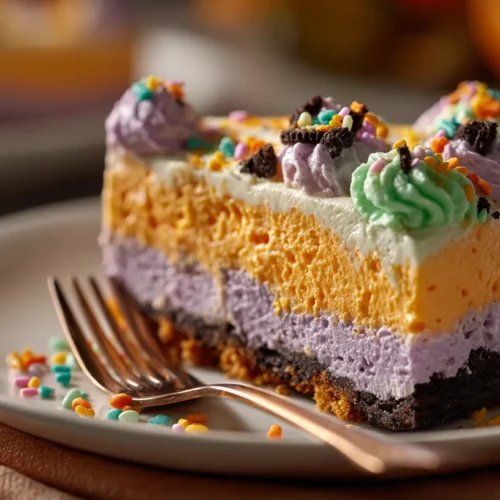
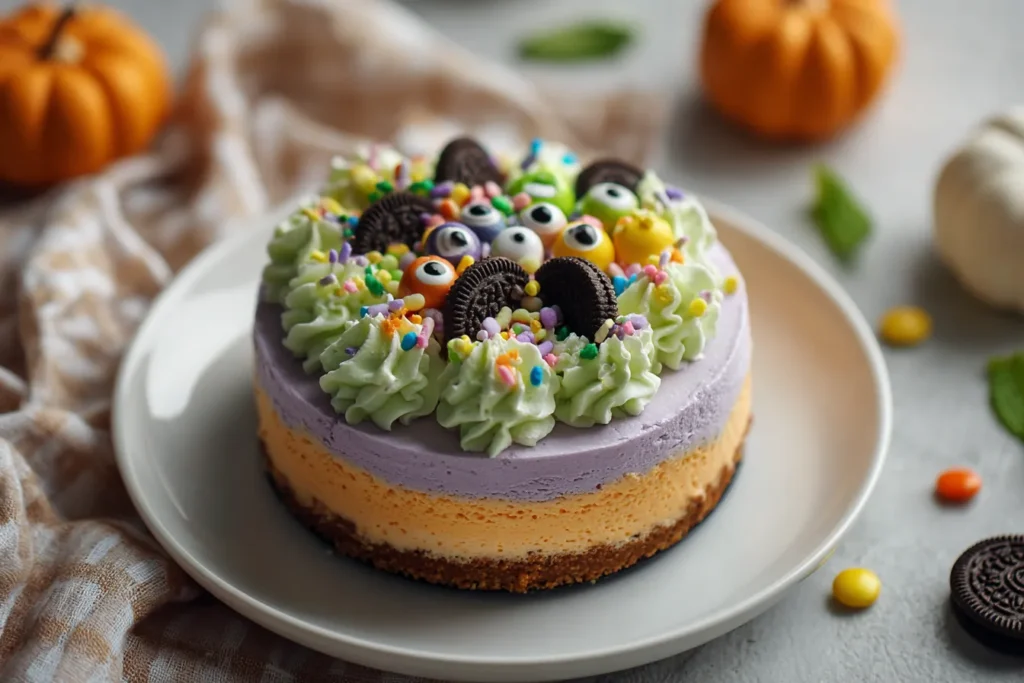
This dessert came together in under 30 minutes and looked like a spooky rainbow in a pan—purple cheesecake, orange pudding, green whipped cream, and plenty of sprinkles on top. It looked wild, but one bite proved it wasn’t just a looker—it was delicious, too.
The dessert lasagna you didn’t know you needed
At first glance, Halloween Lush might look like a kid-only dessert, but it hits all the right nostalgic notes for adults, too. The crushed Oreo base adds just enough crunch to balance the silky cheesecake layer. The orange gelatin pudding is bright and citrusy, adding a tang that cuts through the richness. And the whipped topping with a hint of green dye? It’s light, sweet, and perfectly spooky when topped with sprinkles or candy eyes.
You don’t need any fancy skills or equipment—just a few bowls, a mixer, and a little time to chill. And once it’s set? That first forkful is cold, creamy, colorful Halloween joy.
Layers of Flavor & Easy Assembly
A no-bake dessert that looks like magic
What makes Halloween Lush so impressive is how easy it is to build—layer by layer, no oven needed. The base starts with 36 crushed chocolate sandwich cookies blended with melted butter. When pressed into a 9×13 dish, it forms a firm, chocolaty crust that holds up all the creamy goodness on top.
Next comes the orange gelatin pudding layer. Whisk orange gelatin with boiling water until smooth. In a separate bowl, mix vanilla instant pudding with cold milk until it thickens. Then combine the gelatin and pudding to create a creamy, citrusy orange filling that feels light and tastes bright.
The cheesecake layer adds richness. Beat softened cream cheese with powdered sugar until silky, then fold in whipped topping to make it fluffy. A few drops of purple food coloring turn it into a Halloween-worthy surprise. This goes right on top of the crust, smoothing out into a thick, creamy middle layer.
Then comes the fun finale: green whipped topping. Stir green food coloring into the remaining whipped topping until you reach your desired shade. Spread it over the orange pudding layer for a bold, witchy finish.
Decorate and chill until spooky perfection
Before refrigerating, top the dessert with Halloween sprinkles. You can go classic with orange and black, or lean into the theme with candy eyeballs, gummy worms, or edible glitter. Cover the dish and refrigerate for at least four hours—overnight is even better.
Once chilled, the layers slice clean and hold together beautifully. Every bite delivers creamy, sweet, and slightly tangy flavors with just the right crunch from the cookie base. It’s spooky-season perfection that feels like a party in every spoonful.
Halloween Lush
Ingredients
- 36 chocolate sandwich cookies
- 6 tablespoons butter melted
- 2 boxes 3 ounce each orange gelatin
- ⅓ cup boiling water
- 2 boxes 3.4 ounce each vanilla instant pudding & pie filling mix
- 2 ½ cups cold milk
- 1 package 8 ounce cream cheese softened
- 1 cup powdered sugar
- 2 8 ounce tubs whipped topping
- Green and purple food coloring
- Halloween sprinkles
Instructions
- In your food processor crush all the cookies into crumbs.
- Place the cookies into a large bowl and add the melted butter. Mix to combine to make it a sand like texture.
- Press the cookie crumbs into the bottom of a 9×13 glass baking dish.
- Orange Gelatin Filling
- Next prepare the fillings.
- In small bowl, place the orange gelatin, and add the boiling water.
- Whisk together until combined and most of the gelatin is dissolved. This will take 2-3 minutes.
- In medium bowl, whisk together the dry pudding mixes and milk until combined. You want to make sure the pudding thickens a bit. This takes a few minutes to get it to thicken.
- Whisk the orange gelatin into the vanilla pudding until completely combined. Just leave it set to the side.
- Cheesecake Layer
- In large bowl using an electric mixer combine the cream cheese and powdered sugar until smooth.
- Next you will fold in 2 cups of the whipped topping.
- Stir in a few drops of the purple food coloring, until you get your desired purple shade.
- Assemble
- Spread the purple cheesecake layer over cookie crust.
- Then you will spread the orange jello/pudding layer over the cream cheese layer.
- Mix the rest of the whipped topping with a few drops of the green food coloring until you get the green color you desire.
- Spread the green whipped topping over the gelatin layer.
- Sprinkle with halloween sprinkles or decorate the top as you would like.
- Cover the container and then refrigerate at least 4 hours or until the dessert has set up. Then you will slice and serve.
Tips, Tricks & Customizations
Smart shortcuts for the perfect Halloween Lush
Making a layered dessert doesn’t have to mean lots of fuss. One of the easiest ways to save time is by crushing the cookies in a food processor—it creates a fine, even texture. If you don’t have one, place the cookies in a zip-top bag and crush them with a rolling pin.
To avoid soggy layers, press the crust down firmly with the bottom of a glass. This helps create a tight base that won’t fall apart when sliced. For the gelatin layer, let the pudding thicken before adding the gelatin so the texture stays creamy—not runny.
When mixing in the food coloring, add one drop at a time. Gel food coloring gives you bright results with less liquid. And be sure your whipped topping is fully thawed so it folds in smoothly.
Want cleaner slices? Refrigerate the dessert overnight and use a sharp knife dipped in warm water to slice.
Spooky swaps and festive extras
One of the best things about Halloween Lush is how easy it is to make it your own. Swap the chocolate sandwich cookies for golden Oreos if you prefer a vanilla base. Not into gelatin? Use just pudding with a few drops of orange food coloring for a similar look and flavor.
For a chocolate twist, add mini chocolate chips between layers. Want something crunchy? Sprinkle crushed toffee or chopped nuts over the top. Hosting a party? Make it in clear cups for individual servings—easy to grab and great for guests.
You can even theme it beyond Halloween. Just switch up the colors—red and green for Christmas, pink and purple for Valentine’s Day. This dessert isn’t just festive—it’s flexible.
Storage, Freezing & Serving Ideas
How to store Halloween Lush the right way
This no-bake dessert might look fancy, but it’s surprisingly low-maintenance. Once your Halloween Lush is fully assembled and chilled, it holds up beautifully for several days. Simply cover the baking dish tightly with plastic wrap or a fitted lid and store it in the refrigerator. It will stay fresh and flavorful for up to 4 days.
To keep the layers from getting too soft, avoid placing anything heavy on top of the container. Also, if you’re making it in advance, wait to add delicate decorations like sprinkles or gummy toppings until just before serving—they’ll hold their texture and color better.
For best results, slice with a sharp knife wiped clean between cuts. This helps you preserve the distinct layers in each serving.
Can you freeze Halloween Lush?
Yes—though it depends on the toppings. If you want to freeze it, do so before adding sprinkles or candies. Once assembled, wrap the pan tightly in plastic wrap, then again in aluminum foil to prevent freezer burn. It’ll last up to 2 months in the freezer.
To serve, let the dessert thaw in the fridge overnight. The layers may soften slightly, but the flavor remains delicious. Add your sprinkles or candies after thawing for a freshly finished look.
Serve it spooky, sweet, and fun
Halloween Lush is a party showstopper, so have fun with presentation. Slice it into squares and top each one with a candy eyeball or swirl of whipped cream. Serve on dark plates or trays for contrast, or layer into clear cups for a colorful single-serve option.
Whether you’re making it for a Halloween bash or a family movie night, this creamy, colorful treat is sure to cast a spell on everyone.
Frequently Asked Questions
1. What is Halloween Lush made of?
Halloween Lush is a no-bake layered dessert made with crushed Oreo cookies, a purple cream cheese layer, an orange pudding-gelatin layer, and green whipped topping. It’s finished with Halloween sprinkles for a festive touch. Each bite combines creamy, crunchy, and colorful textures.
2. Can I make Halloween Lush ahead of time?
Yes! Halloween Lush is perfect for making ahead. Assemble the dessert, cover it tightly, and refrigerate for at least 4 hours or overnight. This allows the layers to set and the flavors to develop. Add sprinkles or candy toppings just before serving.
3. Can I use regular pudding instead of adding gelatin?
Absolutely. If you prefer, skip the gelatin and just use vanilla instant pudding mixed with a few drops of orange food coloring. The texture will be slightly softer, but the taste and look remain festive and delicious.
4. How long does Halloween Lush last in the fridge?
Stored properly in an airtight container, Halloween Lush stays fresh in the refrigerator for up to 4 days. For best results, wait to add toppings until right before serving to keep the texture crisp and colorful.
Conclusion
When you want a no-bake dessert that brings color, fun, and layers of creamy sweetness, Halloween Lush delivers every time. With just a handful of ingredients and zero oven time, it’s the perfect treat for spooky parties, family nights, or anytime you want to serve something festive and unforgettable.
Each bite is a celebration—chocolatey, smooth, and topped with a playful crunch. From the purple cheesecake to the orange pudding and green whipped topping, this dessert lasagna looks as good as it tastes. Make it once, and it’ll become a Halloween tradition you’ll look forward to every year.